KIconMaker

Installing:
-
clone this
repoor download thezip file(https://github.com/Satisfactory-KMods/KIconMaker) -
copy it to
<your project>/Plugins/. -
open the editor and go to KIconMaker Content
-
open the
IconMakerlevel
Using:
Actions
-
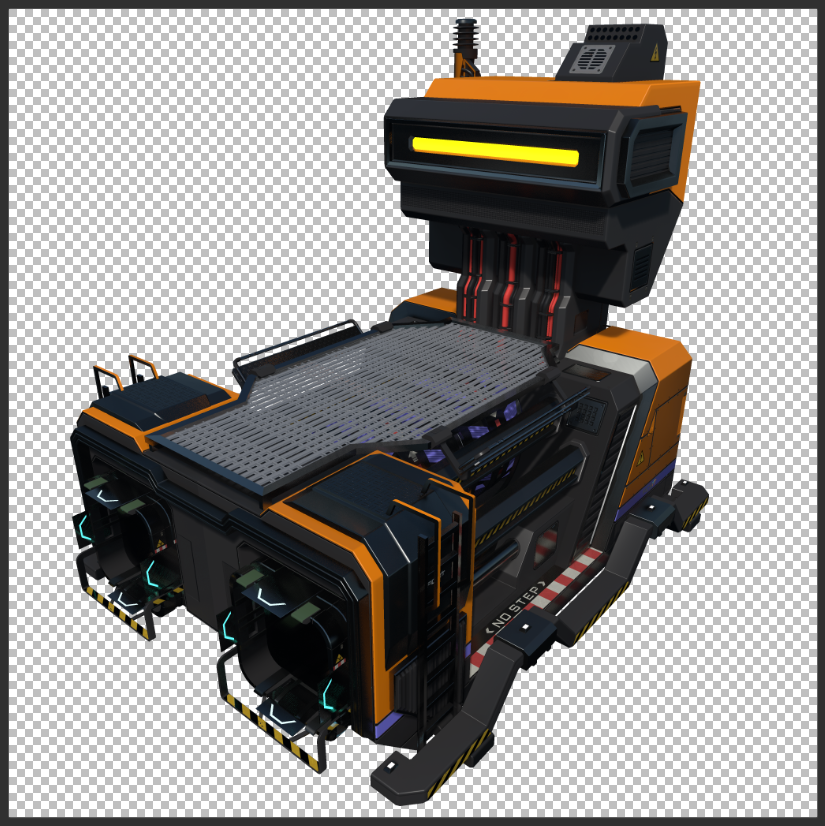
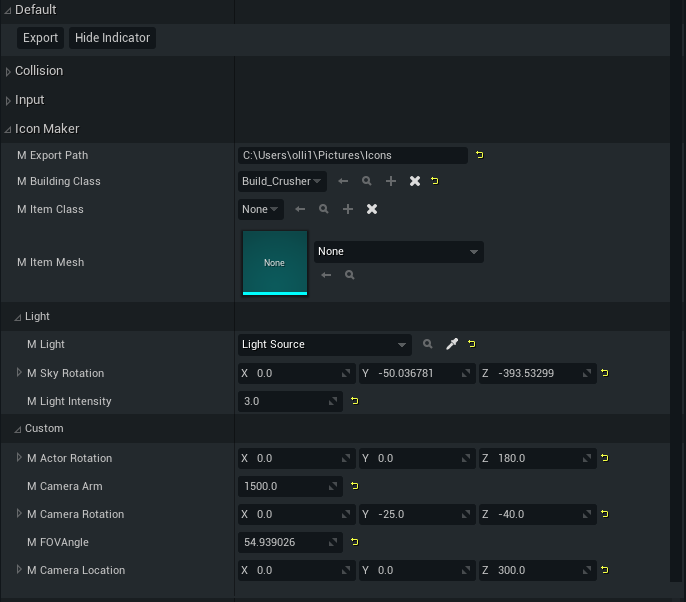
Export- Automatically name the icon and export it to the path specified inmExportPath. -
Hide indicator- Try to find the production indicator and remove it from the actor.
Select the object where we want to create a ICON
-
mBuildingClass- The class of the build (used only ifmItemMeshANDmItemClassis none; set automatically ifmItemClassORmItemMeshnot none) -
mItemClass- the class of the object (used only ifmItemMeshis none) -
mItemMesh- if you want to snap a static mesh, use this (automatically set bymItemClass)
Camera (Custom):
-
mActorRotation- Is for the rotation of the ChildActor (The object you want to create an icon in). -
mCameraArm- Sets the distance between the object and the camera -
mCameraRotation- is for the rotation around the object -
mFOVAngle- is the FOV for the camera -
mCameraLocation- to set an offset for the position of the camera (move the arm, not the camera itself)
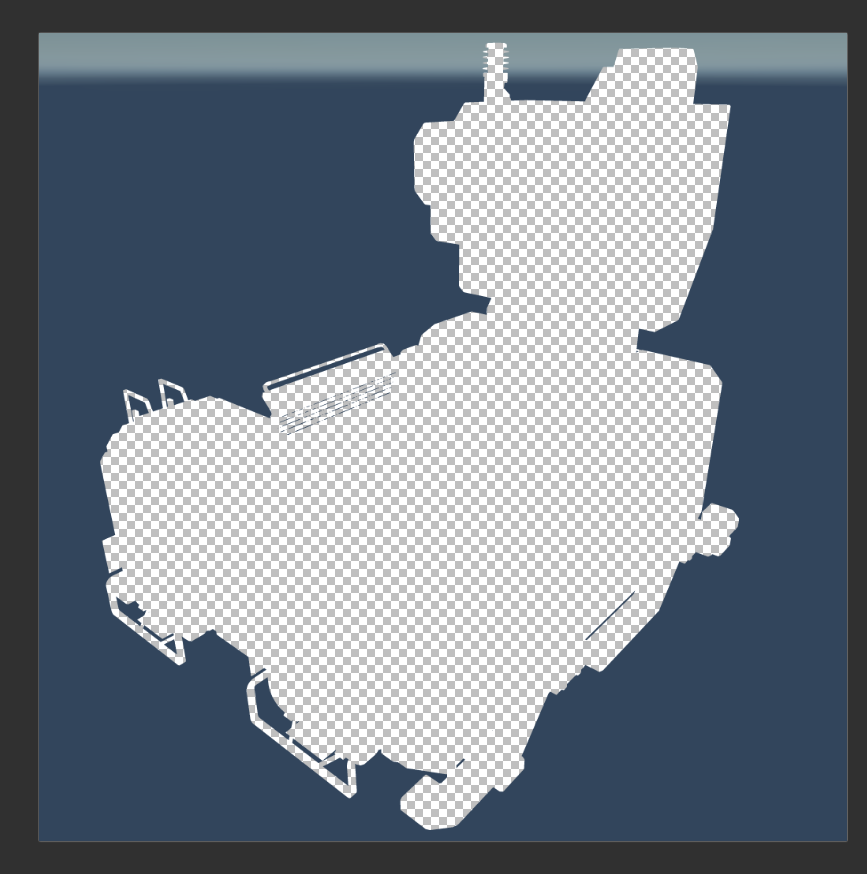
After Export
After export you will get an image that is blue and has an alpha in the middle. Now you have to invert the alpha, for example with Paint. NET or PS. Small tip for Paint. NET : https://forums.getpaint.net/topic/9625-invert-alpha/
After that scale the image to 512x512 (for buildings) or 256x256 (for items),