Adding an In-Game Mod Icon
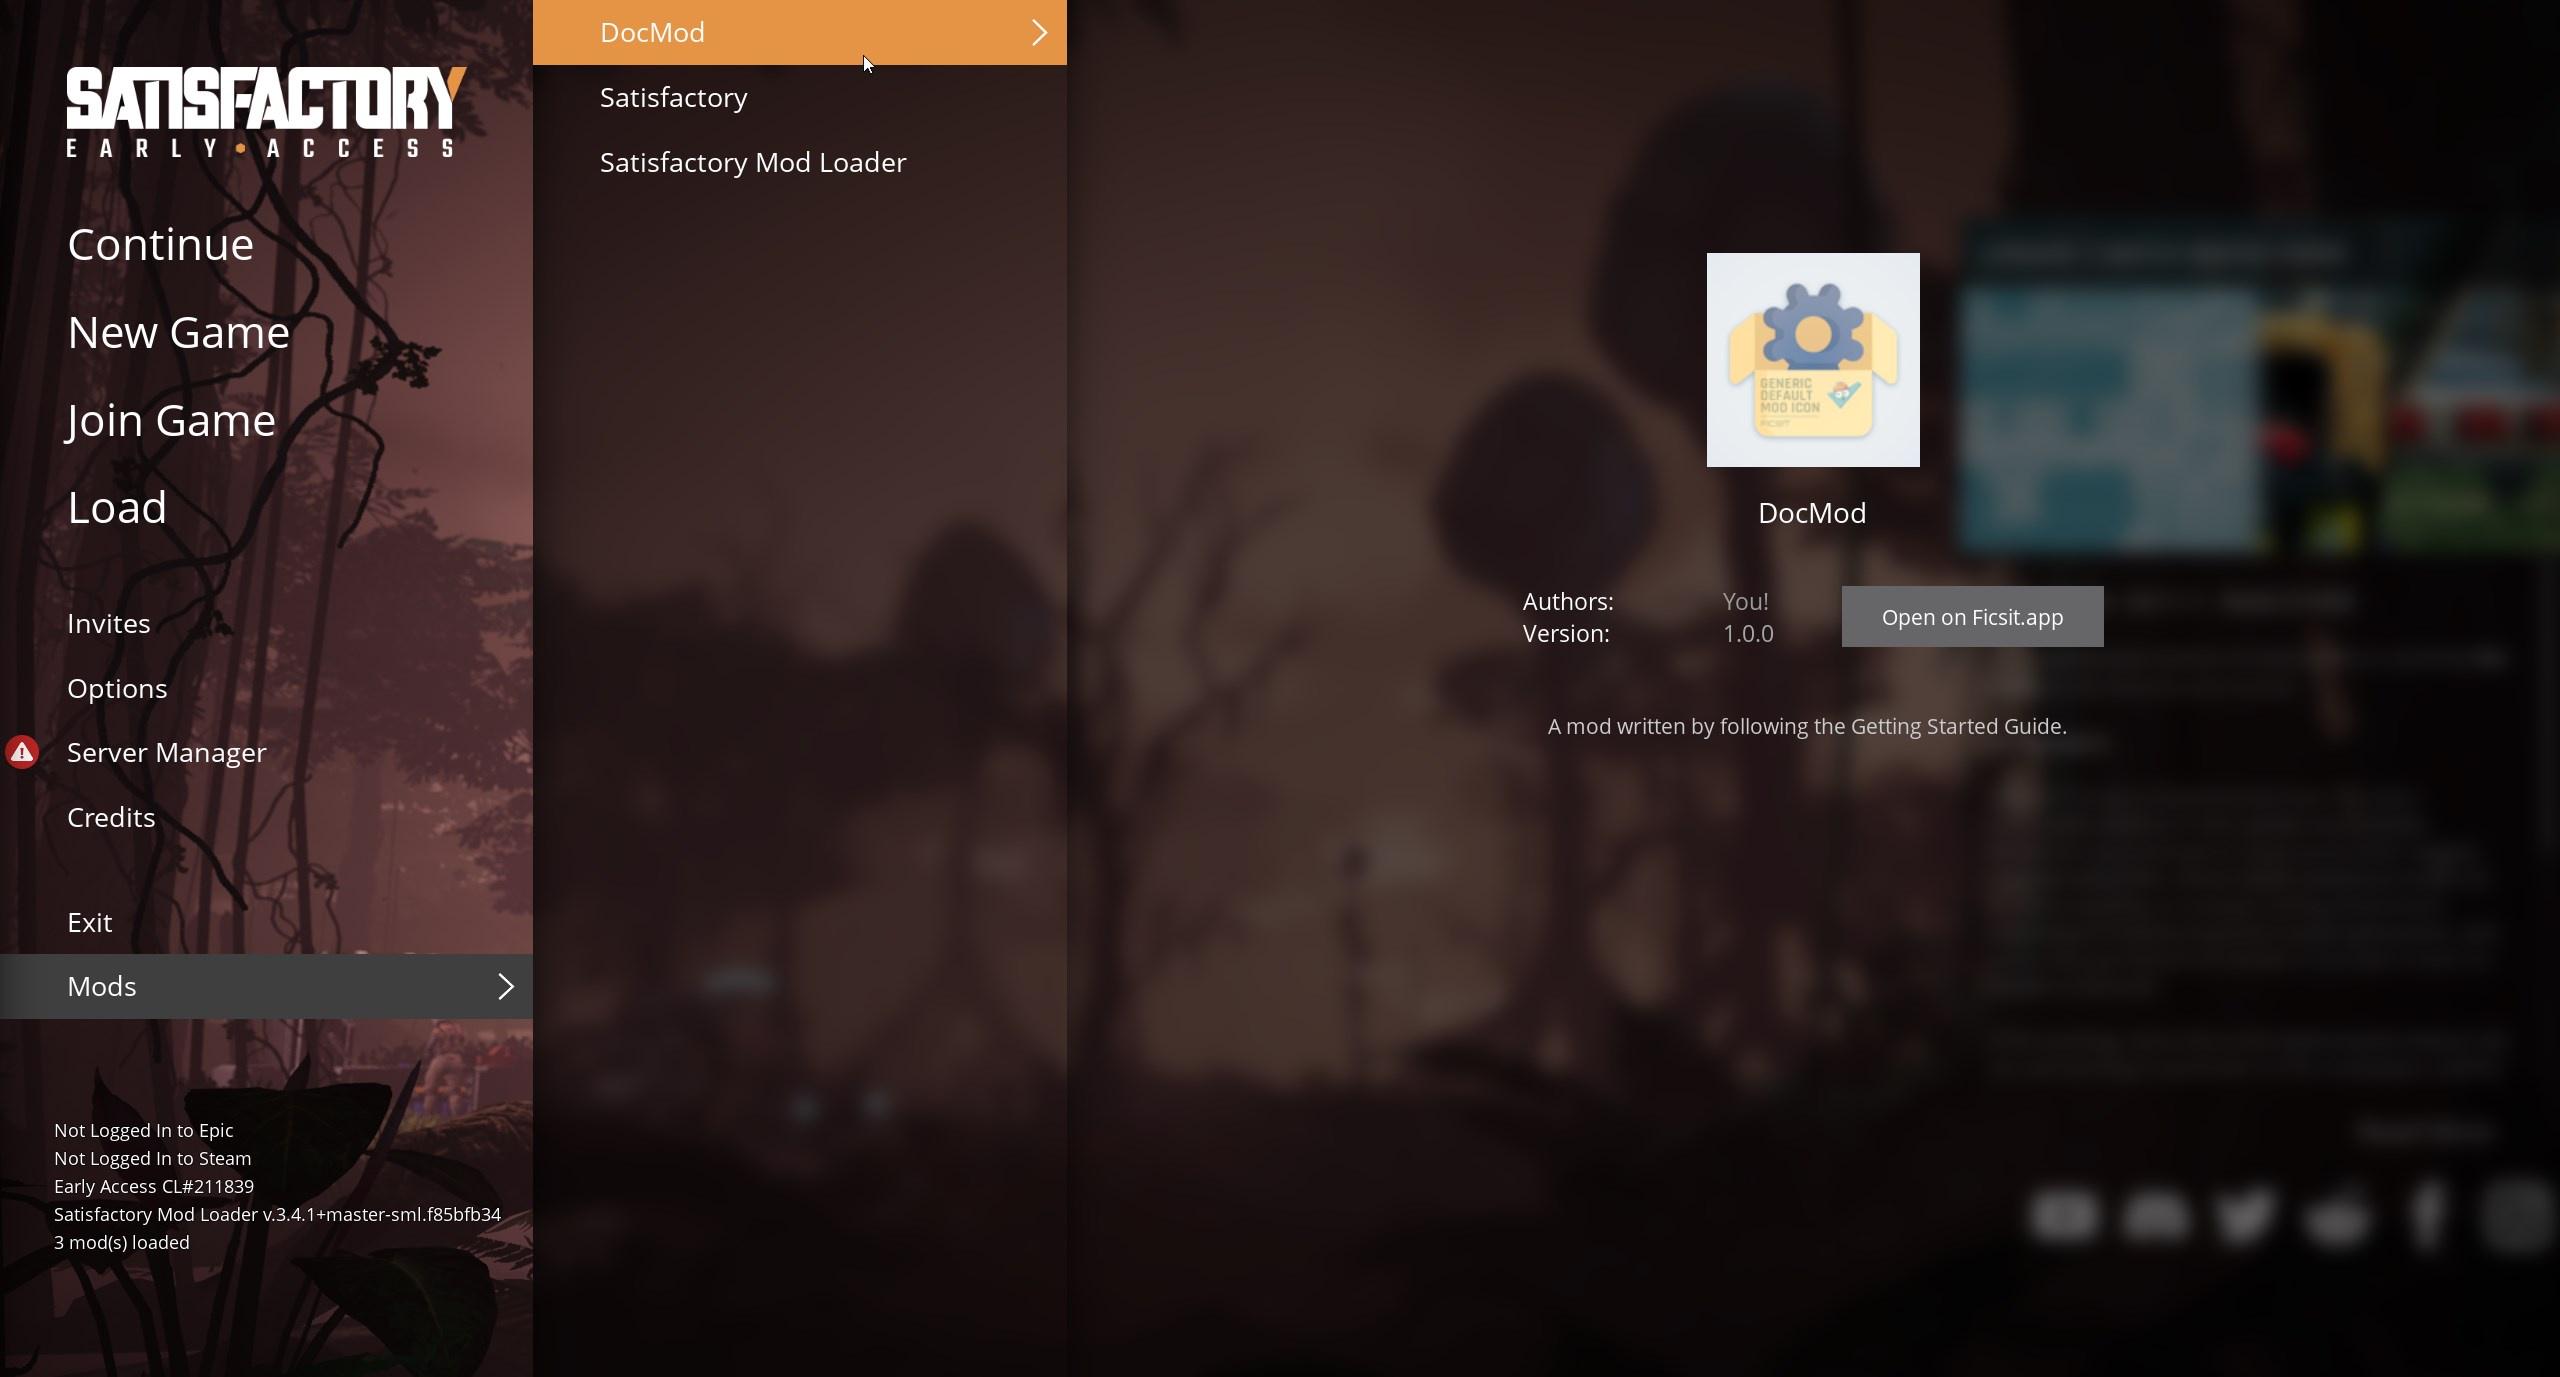
The in-game mods list, accessible from the main menu, allows you to view and configure all loaded mods.
The mods list also displays image icons for installed mods, or the following placeholder image if none was found:
Even if you have correctly set your plugin’s icon in the Unreal editor, there’s still a couple steps needed for Alpakit to recognize it and package it with your mod.
Select an Image
First, we need a png file to use as the Icon for our mod. You can re-use the same one you plan to use when uploading your mod to SMR, but you might need to resize it for use here - this icon should be a square and at least 128x128 pixels.
Alpakit Helper Utility
If you created your mod using the Alpakit Create Mod Utility, the relevant configuration files mentioned below have already been created for you.
To change the icon, click the Edit button next to your mod’s Alpakit listing
and select your file via the three-dots file picker.
Be sure to check and make sure it worked.
Setup
If you didn’t create your mod using the Alpakit Create Mod Utility, or if you want to add another custom directory to be included, see the steps below.
Let’s navigate to our SML project (where the FactoryGame.uproject file is located)
and from there go to /Mods/<mod_reference>
(read more on mod references here).
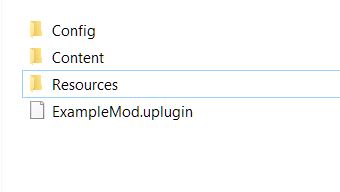
We should now be in the folder where our mod’s .uplugin file is located.
Next, let’s create 2 folders within our mod plugin folder:
-
Resources -
Config
|
Be sure that the folder names exactly match those shown above. |
Our folder should now look like this:
In our "Resources" folder we will put our Icon and rename it to Icon128.png.
If the icon is given any other file name, the Unreal editor and game will not recognize it
and will fall back to default icon instead.
Modify Packaging Settings
Now we need to tell Alpakit to include our "Resources" folder in the mod when packaging it.
To do this, inside the "Config" folder, we need to create the file PluginSettings.ini.
You can do this by creating a new text file and then changing the extension to a .ini file, for example.
If you chose to create the file in this manner, we suggest you turn on
showing file name extensions
to assist with this.
Inside the file, insert the following lines:
[StageSettings]
+AdditionalNonUSFDirectories=Resources
The attribute "+AdditionalNonUSFDirectories" tells Alpakit that we wish to include a directory during the packaging of our mod.
We pass it the "Resources" value which is the folder we wish to include (the one containing our Mod Icon).
Making Sure It Worked
After making these changes, you should be able to pack your mod again from the editor. If everything worked, your mod icon should now show on the in-game menu. Hooray!
If the icon still doesn’t show, go back and ensure that you have the correct file and folder names, and that the image is of the correct size and format.