Buildable
Next up, we’ll make a buildable. A buildable is simply anything you will be able to place with the buildgun. Even if it is just a simple foundation or fence, it is still a FGBuildable.
A buildable is fairly similar to an Item with a few more values to configure and a few to ignore. There’s also a hologram which controls its placement. We don’t need a conveyor mesh for our building, since our buildings probably shouldn’t be moving around as items on conveyor belts. This time we’ll create an separate folder for each of our buildable to have textures, meshes, and so on in one place. Create new folder called "Buildables" in your mod’s root folder, then create another folder for our Buildable. Let’s call it "DocBuild".
Adding the Actor
Next, create a blueprint of type FGBuildable with f.e. the name "Build_DocBuild" inside your folder. This is the actual building object in which the model and factory logic are defined, among other things.
Now we need to populate the buildable description by simply filling the default values.
Set M Hologram Class to FGBuildableHologram, which will cause the FGBuildable to automatically find the hologram by itself.
Fill M Display Name with something like "Doc Buildable" and M Description with "An example building that showcases the MI_Factory_Base_01 material.".
As you can see in the Components pane in the top left, the actor already contains a few components. But not any visuals, so, now add a new static mesh component in the center of the viewport. The build gun uses the origin when targeting the mesh to be built or snapped.
You can use this example Mesh for your buildable.
This Actor is also where you can define the snapping area and the clearance area, but we won’t do that for now. Look to other machines and examples for inspiration as there are several relevant settings to make those behaviours work correctly.
Make it paintable
We want to make our buildable paintable, meaning, able to be painted it with the paint gun. Because the FGBuidable-class already provides a basic implementation for that, we just need our buildable’s mesh to use the MI_Factory_Base_01 material. The provided example mesh already provides a proper UV map for said material, so you will not need to edit the UVs of the provided mesh. You will need to do so for your own models. More info on the materials already in the game can be found at Main Materials documentation page.
You must ensure that the materials of the Mesh and Buildable are set to point to a material called MI_Factory_Base_01 within Content/FactoryGame/-Shared/Material. If this does not exist, create a placeholder material in its place, and it will point to the correct texture within the game.
|
More than one |
Adding the Descriptor
Similar to how we created a descriptor for our item, we now need to create one for our buildable of type FGBuildingDescriptor.
Simply add a new Blueprint of type FGBuildingDescriptor to the same folder as the buildable itself and call it f.e. "Desc_DocBuild".
The building descriptor is very similar to the item descriptor - it even derives from it. It comes with a few extra fields, such as a FGBuildable-Class reference (set this to your Build_DocBuild actor) and some Build-Category stuff that you can set up as you see fit.
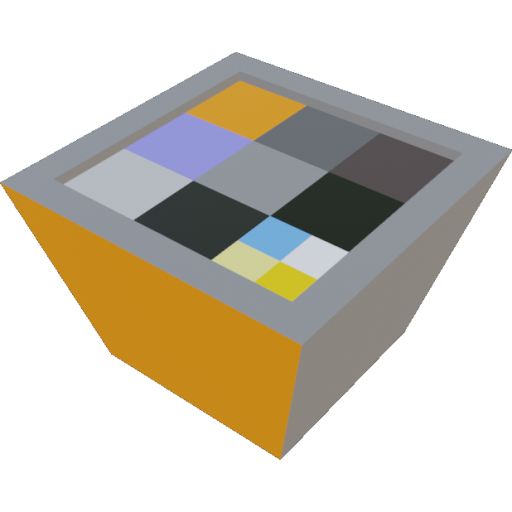
Just like our item, it requires an icon file. You can use this example as the icon.
|
Make sure you use |
Define the Recipe
Simply do the same process as for the Item, but this time as Item-Class you need to use the FGBuildingDescriptor (Desc_DocBuild) we just created and set the ProducedIn-field to FGBuildGun. Remember to add this recipe to a schematic as well so that you can unlock and use it.
That’s it! You don’t need to register anything else. When the recipe gets loaded, everything else also gets loaded and the buildable in the save file has soft references to the classes, and if they get loaded also the classes like our newly created buildable get loaded.
If you load up the game now, you should be able to build the Doc Build in game, but it is purely an object that sits there and exists. You should be able to paint it with the paint tool, and it should look roughly like it does in the icon image. If it just has a gray checkerboard on it, check in both the Buildable and the Mesh that the correct Factory Inst texture is selected.
In the next section, we’ll make another buildable that acts as a simple machine.