Recipe vs Schematic
'Recipes' are used to define the item input/cost and output of crafting items, buildables, etc. Recipes are not only used for the craft bench or the workshop, but also for the build gun, smelters, manufacturers and more. You can read more about recipes on the Crafting page.
|
Note that recipes are used to define both crafting recipes in the craft bench and machines and construction prices when using the build gun. All buildables actually have an item equivalent in game as well. |
'Schematics', on the other hand, define things like Milestones, the shipments submitted to FICSIT via the HUB in order to unlock new recipes and features. This is far from their only feature. You can read more about schematics on the Schematic page.
Create a Recipe
First of all, we want to add a recipe to the game which will get
unlocked with the schematic we will create afterwards. Create a folder,
Content/DocMod/Recipes which will contain all our recipes.
Now, back in Unreal, we can create a new Blueprint Class in this folder which extends FGRecipe to serve as our recipe. Call it something like Recipe_Doc to follow Coffee Stain’s naming pattern.
Finally, we can define the recipe description itself. Open up the class and go to the class defaults and set the properties to the values you want.
-
- M Display Name
-
If you want to define a name for your recipe, check this and type the name in. For our tutorial recipe, we’ll check it and call it "Doc Recipe". This will show up inside the manual crafting bench (if you make it craftable there) and in machines once they are set to this recipe.
-
- M Ingredients
-
This is an array of structs, each of which contains the information of one crafting component. Together, the array forms the input items for the recipe. For this example, we’ll add one entry and set
Desc_Leavesas theItem Classand 42 as theAmount.
-
- M Manufacturing Duration
-
This determines the time it takes for a machine to process this recipe in seconds. We’ll set it to 1 for now, because we are super speedy pioneers.
-
- M Manual Manufacturing Multiplier
-
If you want to use the same recipe for machines and the craft bench, with this value you can define how much longer the crafting of this recipe should take longer in the craft bench. Because we don’t have time, we set this to 0. With the multiplier set to the default of 0, the number of clicks to craft is the number of seconds it takes to craft divided by two.
-
- M Produced In
-
Here we need to select the machine that can use the recipe, for example,
FGWorkBench.
-
- M Product
-
This is again an array of structs containing information regarding the item types and amounts that form the output of the recipe. In our case we’ll add an entry with
Desc_Woodas theItem Classand 1 as theAmount. Do note that you can create recipes with multiple outputs, but if you want your recipe to be used in a machine, it needs to have the correct number and type of output ports for this to work.
Ok, now you’ve created your first recipe! Next, let’s add it to a schematic to make it available in game.
Create a Schematic
Schematics are what Satisfactory uses to grant additional recipes and
capabilities to the player. Schematics are the 'package' groupings
you’ll see in the HUB that have rewards associated with them. Schematics
are also used for the Tier 0 tutorial phases, M.A.M researches, and alternate recipe researches. To
get started, create a folder in your main mod folder for your
schematics, for example, Content/DocMod/Schematics.
Inside this folder create again a new BP Class but this time of type FGSchematic and f.e. with the name "Schem_Doc". Open it and go again to its defaults.
-
- M Type
-
The type of the schematic, which determines if it’s part of the tutorial system or if it’s a Milestone or whatever. We’ll use
Milestone.
-
- M Display Name
-
The in-game name of our schematic exactly as it is displayed to the user, for example, "Doc Hub Upgrade".
-
- M Schematic Category
-
Defines the category in which this schematic gets grouped into. Go ahead and pick one, it doesn’t matter for our example.
-
- M Sub Category
-
Defines in which sub group the schematic should get categorized. We leave this array empty.
-
- M Tech Tier
-
Determines which Tier the schematic will appear under in the HUB. We’ll set it to 1 so that our content is available as soon as you finish the tutorial.
-
- M Time to Complete
-
Remember that annoying time when you purchased a schematic and the space ship leaves you for a couple of minutes were you are simply not able to purchase any further schematics? This is exactly the value defining how long you will be annoyed. We will set it, to… let’s say… 60 seconds. If this value is shorter than the time it takes for the pod to actually launch, it will visually bug out and the pod will not come back, but you will still be able to submit milestones without issue.
- M Schematic Icon
-
The icon displayed on the schematic in the HUB. We can use this example image. You should make another folder (say
Content/DocMod/Icons) to hold your mod’s icon files. To import an image for use here, right click in your icons folder and chooseImport toand find the image file.
-
- M Depends on Schematic
-
Setting this option will require the selected schematic to be activated first before this one can be activated. We’ll leave this empty because we don’t want our content to require any other particular schematic to be unlocked first.
-
- M Additional Schematic Dependencies
-
Similar to
M Depends on Schematic. Additional schematics to be dependent on can be listed here.
-
- M Cost
-
A list of item amounts which are needed to activate the schematic in the HUB. We’ll add two entries, one with 100
Desc_Leavesand another one with 100Desc_Wood
-
- M Unlocks
-
This array contains finally the rewards the player will get when unlocking this schematic. It is a array of FGUnlocks. There are many different kinds of unlocks, which we discuss in the schematics page, but what we add to this array is a
BP Unlock Recipewhere we can then add recipes such as our newly created one to the array of recipes to unlock.
-
- M Include In Builds
-
Set this to 'public builds' so that your content is included in the build. Presumably, this is what Coffee Stain uses to keep their developer milestones made for testing from being shipping with the main game.
Finally! What a class. Now we just need to register this schematic in the runtime.
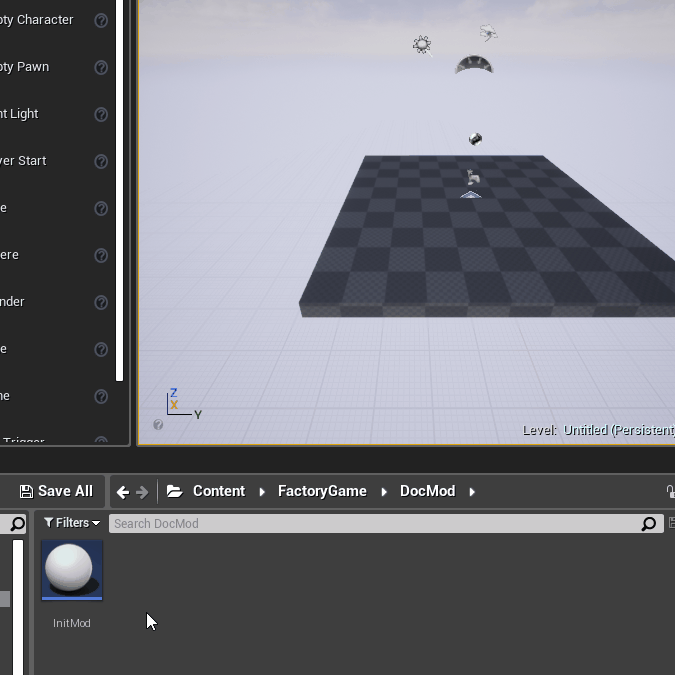
Register the Schematic
To register the schematic we can use the newly created InitMod
and add the schematics to the M Schematics array of the InitMod.
Double click on InitMod to edit it and add your schematic to the M Schematics array.
And we’re set! Our recipe and schematic are registered and should show up in the game now. To test it out, go ahead and run Alpakit and launch the game. The main menu should now show a higher loaded mods count, and you should be able to buy and test your schematic and recipes ingame.